Cluster lashes — also called DIY lash extensions — deliver the volume and length of salon extensions without the $150 appointment and two-hour chair time. They look like professional extensions but cost a fraction of the price and can be applied in 10–15 minutes at home. But the difference between lashes that last five days and lashes that fall off in five hours is almost entirely in application technique. This guide walks through every step — from prep to aftercare — so your first set looks clean, stays put, and does not damage your natural lashes.
What Are Cluster Lashes?
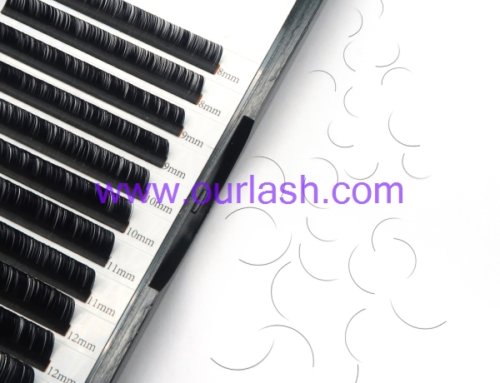
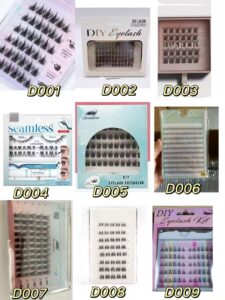
Cluster lashes are small groups of 3–10 lash fibers pre-fanned at the base, applied underneath your natural lashes in segments across the lash line. Unlike strip lashes — one long band placed on top of the eyelid — clusters are placed individually, creating a seamless blend with your own lashes. There are two types for home use: regular clusters that require separate bond and sealant, and pre-glued clusters that come with adhesive already applied to the base — ideal for beginners who want to skip the messiest step. Our pre-glued cluster lashes PDL01-PDL16 are designed specifically for fast, clean home application.
What You Need Before You Start
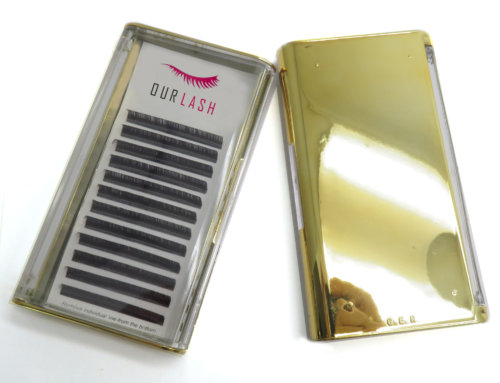
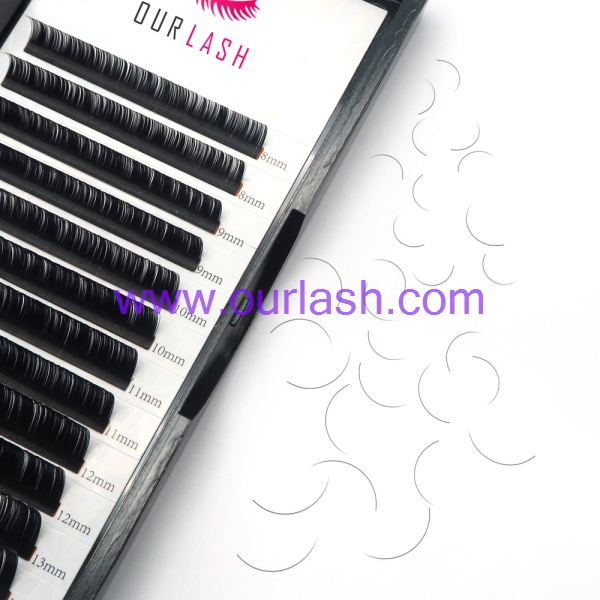
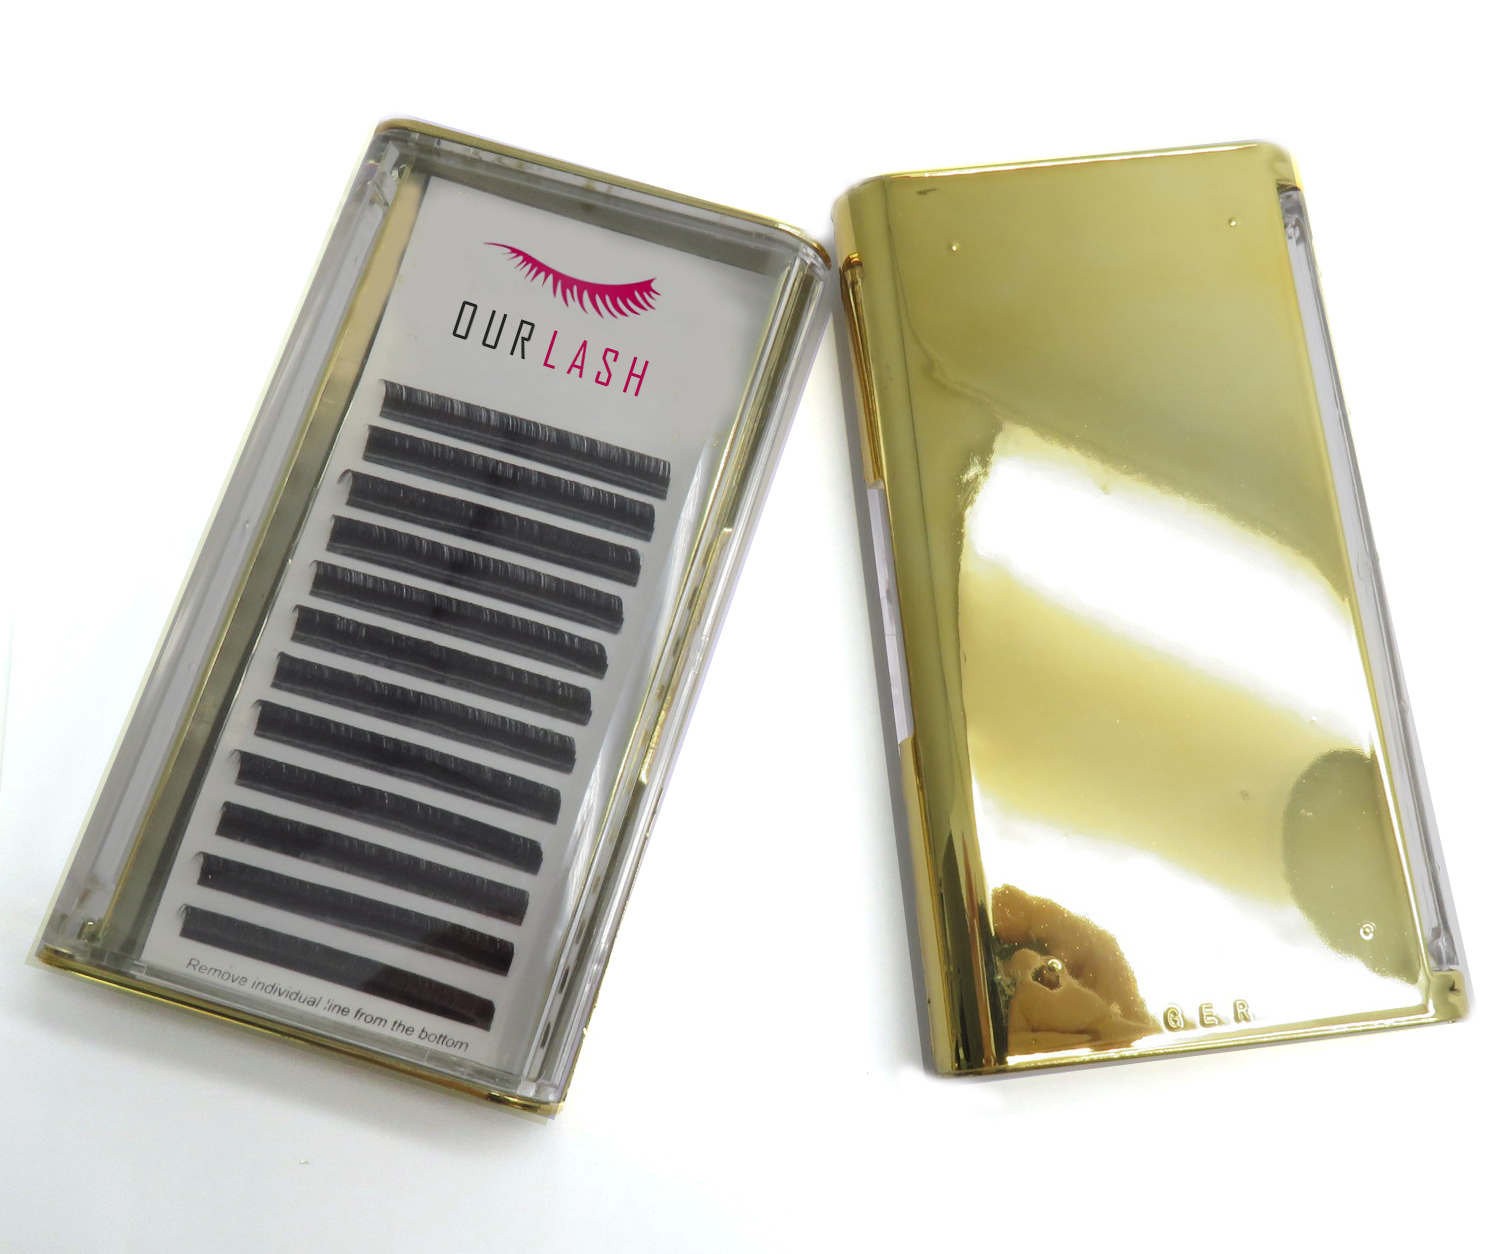
- Cluster lashes— A multi-length pack (8mm–16mm) for the most natural, tapered look. A standard tray gives you plenty of practice material. For a complete starter set, a DIY lash kit bundles everything in one package.
- Lash bond— Specifically formulated for underneath-the-lash application. Do not use regular strip lash glue.
- Lash sealant— A clear coat that locks the bond and protects against moisture. Beginners often skip this, but it is the difference between two-day wear and five-to-seven-day wear.
- Applicator tweezers— Curved or L-shaped. Straight tweezers are harder to angle and more likely to poke your eye.
- Oil-free cleanser— Oil dissolves lash bond. Your prep must be oil-free.
- A magnifying mirror— You are working in millimeter increments. A bathroom mirror is not enough for your first attempts.
- A spoolie brush— For brushing through and blending after application.
Step-by-Step Application
Step 1: Prep Your Natural Lashes
This step is non-negotiable. Inadequate preparation is the number-one reason cluster lashes do not stay on. Even if your lashes look clean, invisible oils from moisturizer or your skin’s natural sebum create a barrier between the adhesive and your lash fibers. Cleanse your lashes and eyelid area thoroughly with an oil-free cleanser on a cotton pad, focusing on the lash line. Pat completely dry. Do not apply moisturizer or eye cream after cleansing, and do not curl your natural lashes — they need to be straight for underneath application.
Step 2: Plan Your Lash Map
Before touching any adhesive, lay out your clusters on the tray in the order you plan to apply them. A standard beginner-friendly map for one eye looks like this:
- Inner corner: 8mm or 10mm cluster (shortest)
- Center: 10mm – 12mm clusters (medium)
- Outer corner: 12mm – 14mm clusters (longest)
For a cat-eye effect (elongates the eye), concentrate your longest clusters at the outer third. For a doll-eye effect (opens the eye wider), place your longest clusters directly above the pupil. Avoid placing long clusters at the inner corner — this creates an unnatural, heavy look.
Step 3: Apply the Bond
If you are using pre-glued cluster lashes, skip to Step 4 — the adhesive is already on the cluster base and you simply press it into place.
If using regular clusters with separate bond: using the wand applicator, brush a thin, even layer of bond along the underside of your natural lashes, from root to about mid-shaft. You do not need to coat the tips. Less bond works better than more — too much creates a visible residue and takes longer to set. Work in sections rather than applying bond to the entire eye at once.
Wait 20–30 seconds. The bond needs to become tacky, not wet. Bond applied while still runny will not hold the cluster in place. You will know it is ready when it looks slightly translucent rather than glossy white.
Step 4: Place Your Clusters, Outer Corner First
Pick up your first cluster by the base using your tweezers — never grab by the lash tips, as this splays the fibers and ruins the fan shape.
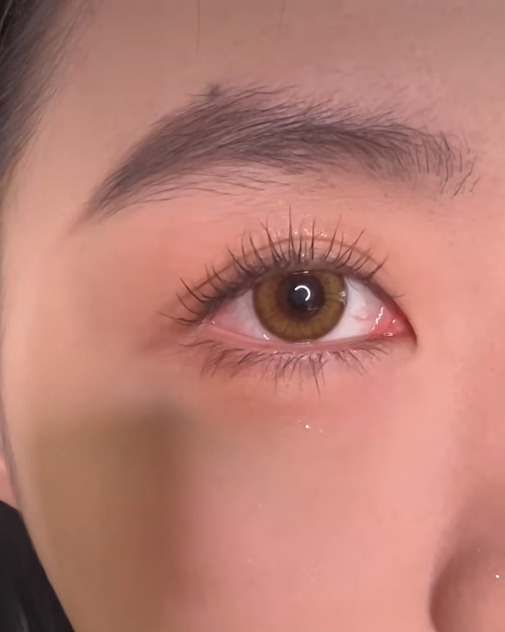
Tilt your chin up and look slightly downward into your mirror. This exposes the underside of your natural lashes. Slide the cluster underneath your natural lashes and press the base against the bonded section. The cluster should sit 1–2mm away from your waterline — never directly on the skin of your eyelid, as this causes irritation and poor adhesion.
Start at the outer corner with your longest cluster and work inward — this gives you more control and establishes the overall shape first. The inner corner is the trickiest area, so it is easier to finish once you have built confidence with the outer and center sections.
Space clusters evenly with a small gap between them. Pressing clusters too close together creates a clumpy, spider-leg effect. Most people use 4–6 clusters per eye for a natural look; 6–8 for more drama.
Step 5: Pinch, Fuse, and Seal
After placing each cluster, gently pinch it together with your natural lashes using the flat side of your tweezers or your fingertips. This fuses the cluster fibers to your lash fibers for a seamless merge.
Once all clusters are placed and you are happy with the look, brush through gently with a clean spoolie to align everything. Then apply a thin coat of lash sealant along the base of the lash line, covering the cluster bases and your natural lash roots in one smooth pass. The sealant dries clear and flexible, locking everything in place and creating a polished finish.
Allow the sealant to dry for 60–90 seconds before touching your lashes. After it sets, you can use tweezers to give the lash line one final gentle squeeze — this reinforces the bond.
Aftercare: Making Your Clusters Last
The difference between lashes that last two days and lashes that last five to seven is almost entirely in aftercare. Follow these rules:
- Avoid water, steam, and sweat for the first 4 hours.The bond needs time to cure. Showering or exercising during this window weakens the hold.
- Use only oil-free skincare and makeup removers near your eyes.Oil-based products dissolve lash bond faster than anything else.
- Sleep on a silk or satin pillowcase.Cotton friction pulls clusters loose overnight.
- Do not rub your eyes or tug at the lashes.Even loose clusters can pull out your natural lashes if forced.
- Brush gently with a clean spoolie each morning.Keeps clusters aligned and prevents tangling.
To extend wear, reapply a thin top coat of sealant every two to three days — this refreshes the hold without removing and reapplying clusters.
How to Remove Cluster Lashes Safely
Removal is where the most lash damage happens — never tug or force clusters off dry. Saturate a cotton pad with oil-based eye makeup remover, hold it against your closed lash line for 30–60 seconds until the bond dissolves, then gently slide each cluster away. If a cluster resists, apply more remover and wait — do not pull. Once all clusters are off, cleanse thoroughly and give your natural lashes a one-to-two-day rest before reapplying.
Many high-quality clusters — including our pre-glued and self-adhesive styles — can be cleaned and reused multiple times, making them more cost-effective than single-use strip lashes.
Common Beginner Mistakes (and How to Fix Them)
- Using too much bond.More bond means longer drying time and visible residue — not better hold. A thin coat is all you need.
- Placing clusters on top of the lashes.Cluster lashes go underneathyour natural lashes, not on top like strip lashes. Placing them on top creates an obvious line of demarcation.
- Skipping the tacky window.Placing clusters while the bond is still wet means nothing will stick. Wait 20–30 seconds until the bond looks translucent.
- Placing clusters on the eyelid skin.This causes irritation and poor adhesion. Always leave a 1–2mm gap from your waterline.
- Not sealing the bond.Skipping sealant is the top reason clusters fail within 24 hours. Do not skip this step.
FAQ
Q: How long do cluster lashes last?
With proper application and aftercare, 5–7 days. Pre-glued clusters may last 3–5 days — the pre-applied adhesive is designed for convenience rather than maximum wear duration.
Q: Are cluster lashes safe for natural lashes?
Yes, when applied and removed correctly. Do not place clusters on the skin, do not pull them off dry, and give your lashes a rest day between sets. Damage comes from improper removal, not from wearing them.
Q: Can I shower or swim with cluster lashes?
Avoid water for the first 4 hours. After the bond has cured, you can shower — but keep your face out of direct spray and avoid steam rooms. The bond is water-resistant, not waterproof.
Q: What is the difference between pre-glued and regular cluster lashes?
Pre-glued clusters have adhesive already applied — you skip the bond step and press them directly into place. They are faster but last 3–5 days versus 5–7 for regular clusters with separate bond and sealant. Our full catalog includes both types, so you can choose based on your routine.